Skip to the content
DeflectDeflect
  • Solutions
    • Website Security
      • Caching
      • Encryption
      • On premise
    • Deflect Labs
      • Baskerville
      • Investigations
    • eQPress
  • Pricing
    • For business & individuals
    • For non-profits
  • Partners
  • Resources
    • Terms of service
    • Privacy notice
    • Documentation
  • About
    • News
    • Principles
    • In the media
    • Deflect clients
    • Testimonials
  • Login
  • Contact
  • Sign up
  • en
    • fr
    • es
    • pt

eQPress Hosting

16
  • eQPress Limitations
  • Overview of eQPress Hosting
  • Create a website on eQPress
    • How to create an empty WordPress site on eQPress
    • First steps with your eQPress site
  • Troubleshooting
    • You updated your site but still see the old one?
    • Still waiting for DNS to be updated and want to see your site?
    • Your DNS has been updated but you still can’t see your site?
    • When you try to open your website you only see a white screen?
  • Secure your eQPress website
    • Antispam recommendations
    • Protecting your WordPress website
    • Removing the WordPress “admin” user
    • Securing your site with HTTPS
  • Manage your eQPress website
    • Resources for learning WordPress
    • How to make your site temporarily inaccessible
    • eQPress Console: enhancing your WordPress admin panel
  • Migrate your website to eQPress
    • How to migrate your WordPress site

Registration & Setup Process

5
  • Step 1 – Register
  • Step 2 – IP and DNS setup
  • Step 3 – Admin Credentials
  • Step 4 – HTTPS/TLS
  • Step 5 – Finalize

Introduction

1
  • Get Started

Control Panel & Dashboard

22
  • Troubleshooting
    • How-to: Update your origin server IP with Deflect
    • How-To: Secure your origin server by allowlisting Deflect Edge IP
    • Troubleshooting SNI and 421 Misdirected Request
  • Website Settings
    • Labs Tab
    • Billing Tab
    • Users Tab
    • Settings Tab
    • Security Tab
    • Cache Tab
    • Baskerville Tab
    • HTTP/TLS Tab
    • Hosting Tab
    • DNS Records Tab
    • Stats Tab
  • HTTPS/TLS support
    • Enable HTTPS connections to your website under Deflect
    • How TLS/HTTPS works on Deflect
  • Report a DDoS Attack
    • Challenging Requests
    • Reporting an Attack
  • General
    • Contact Deflect Support
    • Two-Factor Authentication
    • My Account
    • Deflect Protected Websites
View Categories
  • Home
  • Docs
  • Control Panel & Dashboard
  • Report a DDoS Attack
  • Challenging Requests

Challenging Requests

< 1 min read

When a DDoS attack is not automatically mitigated by Deflect rules and begins to have a negative impact on your server, you can enable the Challenger.

Deflect Challenger Page

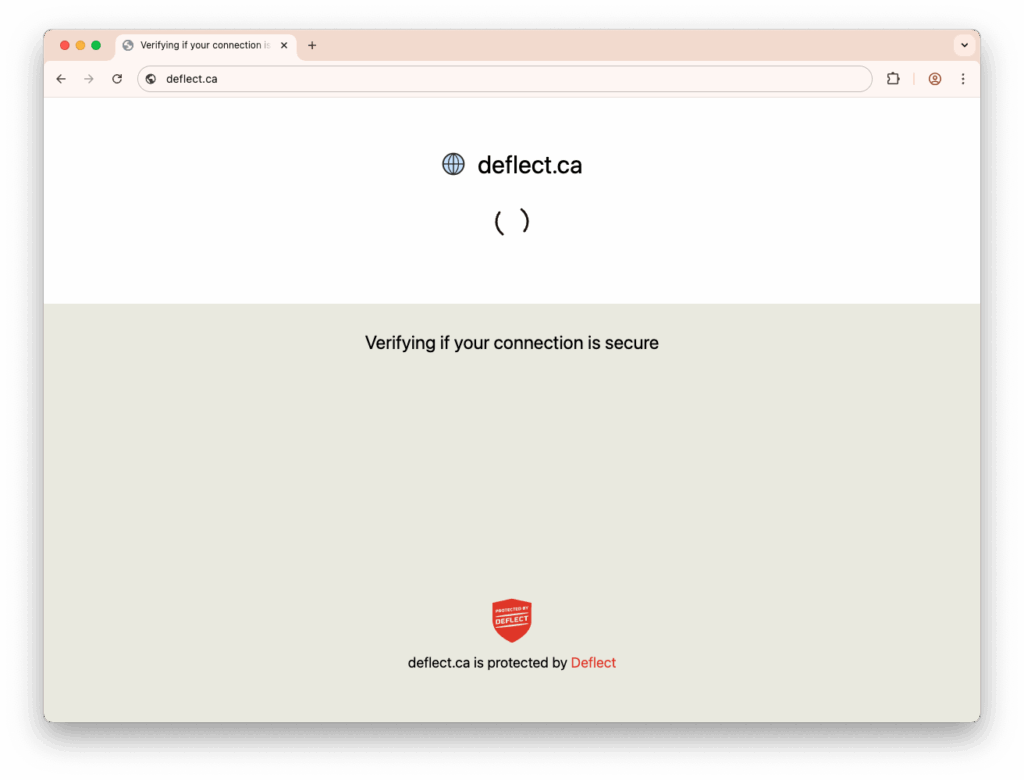
It will help Deflect distinguish between real website readers (who are using a web browser) from automated bots. Challenger does this by serving everyone who requests access to the website a mathematical challenge in JavaScript – a SHA-inverse calculation, to be precise.

The browser solves the challenge automatically and sends back their reply. Most bot cannot do this. When a challenge has been solved, Deflect returns a cookie to the reader’s browser. No further challenges are required from this reader for the next 24 hours.

For the challenger to work JavaScript needs to be enabled on the user’s side.

Updated on August 22, 2025
revised

Is it helpful?

  • Happy
  • Normal
  • Sad

Share This Article :

Reporting an AttackReporting an Attack

© 2026 Deflect

Powered by WordPress

To the top ↑ Up ↑