Skip to the content
  • Solutions
    • Website Security
      • Caching
      • Encryption
      • On premise
    • Deflect Labs
      • Baskerville
      • Investigations
    • eQPress
  • Pricing
    • For business & individuals
    • For non-profits
  • Partners
  • Resources
    • Terms of service
    • Privacy notice
    • Getting Started
  • About
    • News
    • Principles
    • In the media
    • Deflect clients
    • Testimonials
  • Login
  • Contact
  • Sign up
  • en

Introduction

1
  • Get Started

Registration & Setup Process

5
  • Step 1 – Register
  • Step 2 – IP and DNS setup
  • Step 3 – Admin Credentials
  • Step 4 – HTTPS/TLS
  • Step 5 – Finalize

Control Panel & Dashboard

18
  • General
    • Contact Deflect Support
    • Two-Factor Authentication
    • My Account
    • Deflect Protected Websites
  • Website Settings
    • Billing Tab
    • Users Tab
    • Settings Tab
    • Security Tab
    • Cache Tab
    • Baskerville Tab
    • HTTP/TLS Tab
    • Hosting Tab
    • DNS Records Tab
    • Stats Tab
  • Report a DDoS Attack
    • Challenging Requests
    • Reporting an Attack
  • HTTPS/TLS support
    • Enable HTTPS connections to your website under Deflect
    • How TLS/HTTPS works on Deflect

eQPress Hosting

16
  • eQPress Limitations
  • Overview of eQPress Hosting
  • Create a website on eQPress
    • How to create an empty WordPress site on eQPress
    • First steps with your eQPress site
  • Migrate your website to eQPress
    • How to migrate your WordPress site
  • Manage your eQPress website
    • Resources for learning WordPress
    • How to make your site temporarily inaccessible
    • eQPress Console: enhancing your WordPress admin panel
  • Secure your eQPress website
    • Antispam recommendations
    • Protecting your WordPress website
    • Removing the WordPress “admin” user
    • Securing your site with HTTPS
  • Troubleshooting
    • You updated your site but still see the old one?
    • Still waiting for DNS to be updated and want to see your site?
    • Your DNS has been updated but you still can’t see your site?
    • When you try to open your website you only see a white screen?
View Categories
  • Home
  • Docs
  • Registration & Setup Process
  • Step 1 – Register

Step 1 – Register

1 min read

The Deflect Dashboard allows you to register your website(s) for Deflect protection. It also functions as a control panel where you can manage DNS records, security settings, and traffic statistics once you are behind Deflect.

Simply provide us with the necessary technical information and you can get started at once.

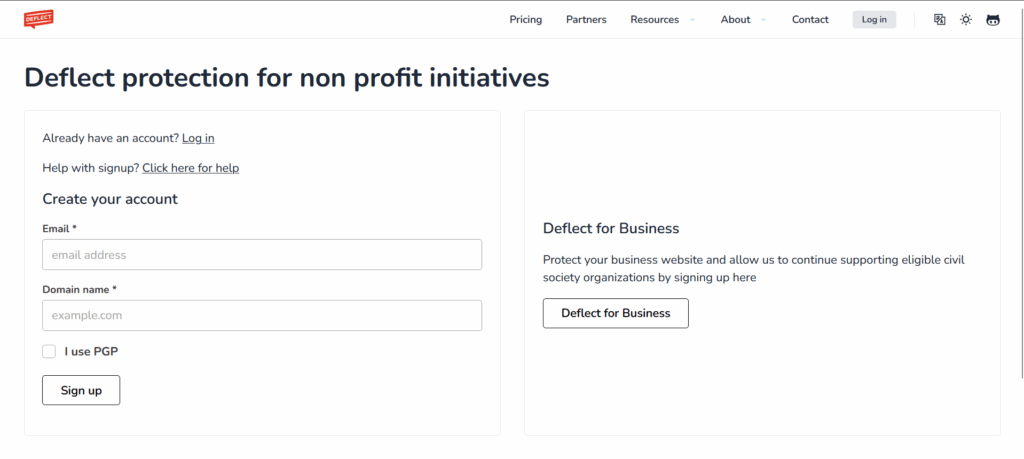
To create an account:

  • Sign up at https://dashboard.deflect.network/signup-np if your website qualify as non-profits. Otherwise you can sign up as Deflect business at https://dashboard.deflect.network/signup.
  • Specify the domain name of the website you want to protect. For unicode domain, please convert it to ASCII / Punycode.
  • Enter your email address
  • Add your PGP key (optional) if you want us to send you encrypted emails. Please note that automated emails sent by the Deflect Dashboard will not be encrypted
sign_up_for_non_profit.png

After registration, you will be guided to accept Deflect’s terms of service. Upon agreement, you will be redirected to the dashboard, where you can immediately begin setting up your website.

Set Password For Your Account #

password_reset_link.png

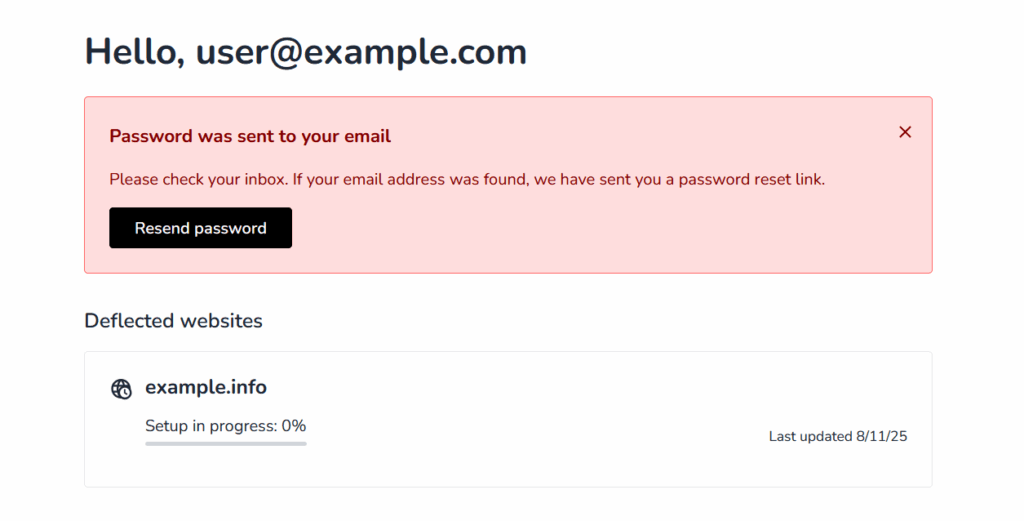
While setting up your website won’t be hindered, it is advisable to fully activate your account by setting a password. There will be an email sent to you with detailed instructions on how to do so. You can access an activation page where you can enter your new password by clicking on the link provided in the email.

activate_your_account.png

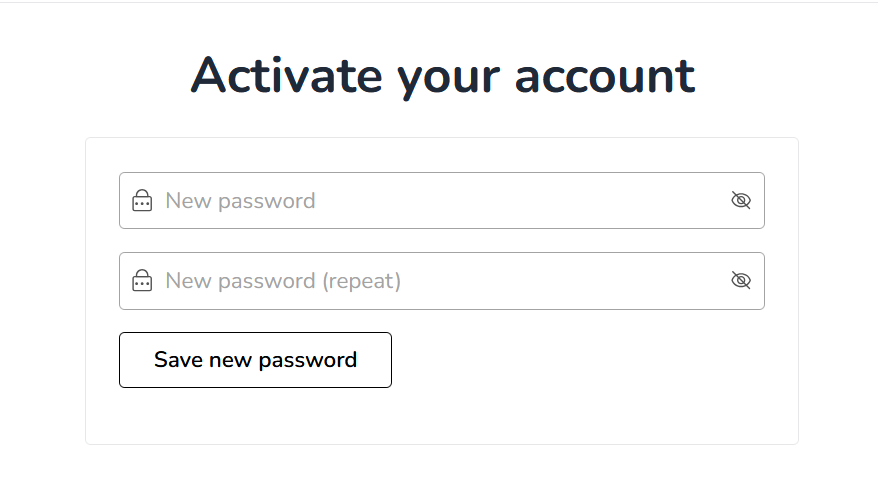
Select a strong password, input it twice for confirmation, then select the “Save New Password” button. Afterward, you will receive a confirmation email informing you that your password has been successfully saved.

Updated on August 27, 2025
revised

Is it helpful?

  • Happy
  • Normal
  • Sad
Share This Article :
Step 2 – IP and DNS setup
Table of Contents
  • Set Password For Your Account

© 2025

Powered by WordPress

To the top ↑ Up ↑